Xavier
Installation
System Requirements
Windows XP or newer
Download Instructions
Download and install the USB-Serial Windows Driver Installer
Download and unzip
Xavier Deployment FolderOpen up Xavier.exe

Setup a default directory that data will be saved to.
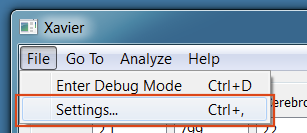
Settings
Access Xavier Settings by navigating to File->Settings.. or by pressing Ctrl + ,
Note
Settings cannot be changed in the middle of a session
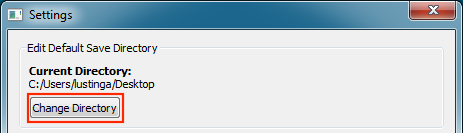
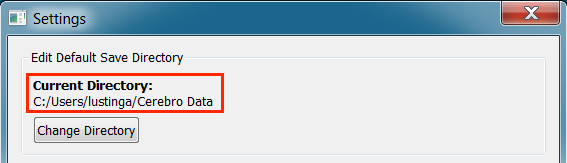
Edit Default Save Directory
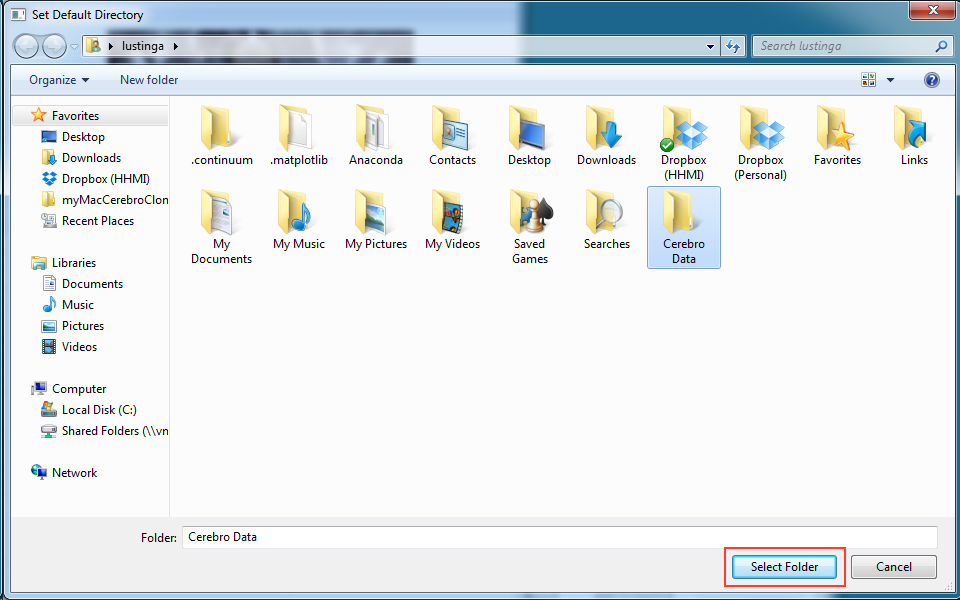
Click
Change Directoryto setup a new save location.
Navigate to an existing folder or create a new folder for future data.
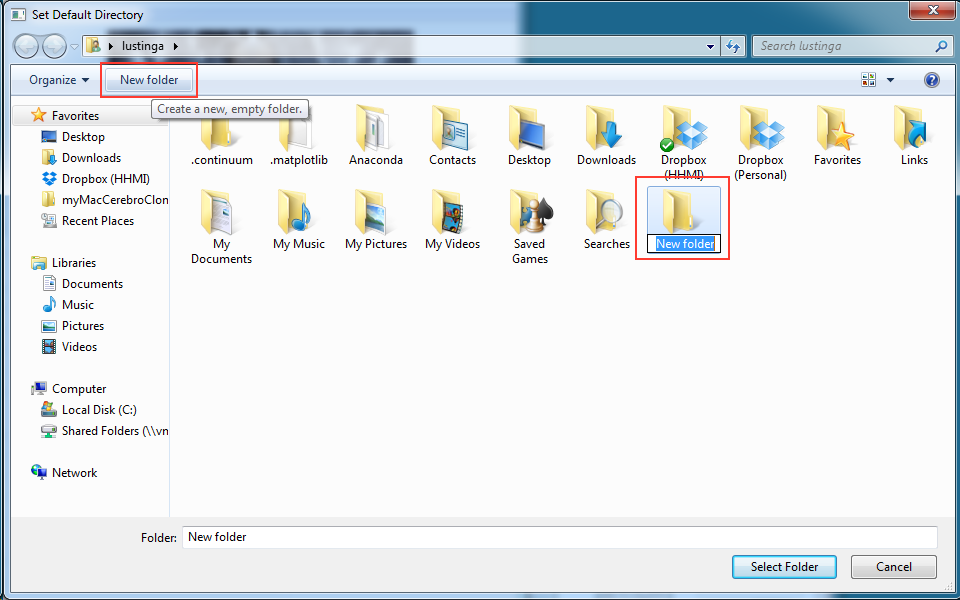
Finally, click Select Folder. The “Current Directory” will reflect updated save path
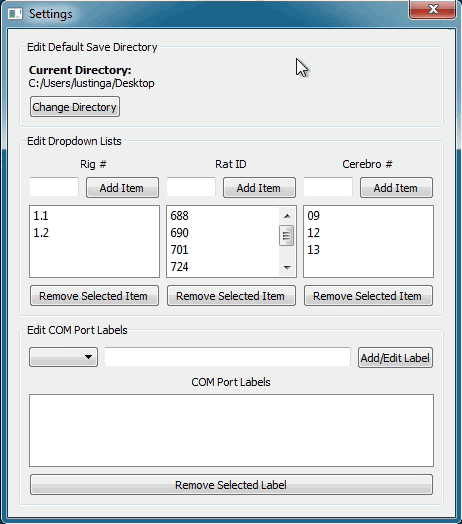
Edit Session Setup Lists
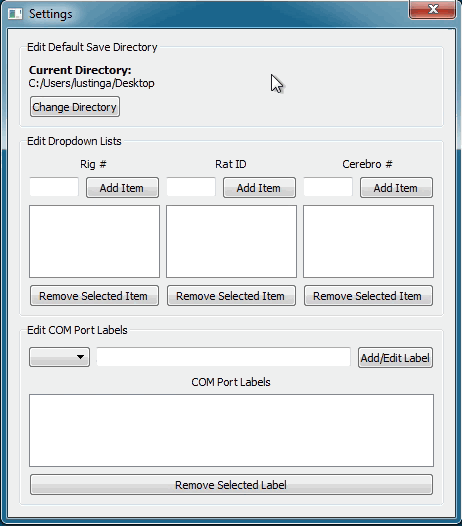
Labeling COM Ports
When multiple usb devices are connected to the computer, it can be hard to keep track of which COM Port belongs to which device. To minimize confusion when connecting to serial ports, Xavier allows you to label COM Ports.

Double-click the labeled COM Port from the list that you want to edit. A label editing dialog will appear.
Type the new label into the textbox and click
Change Label.
Running an Experiment
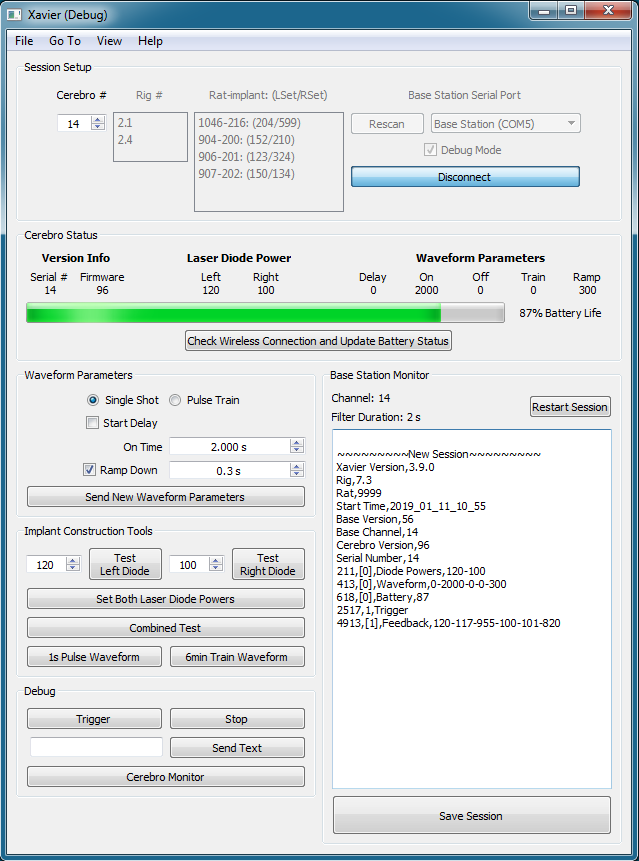
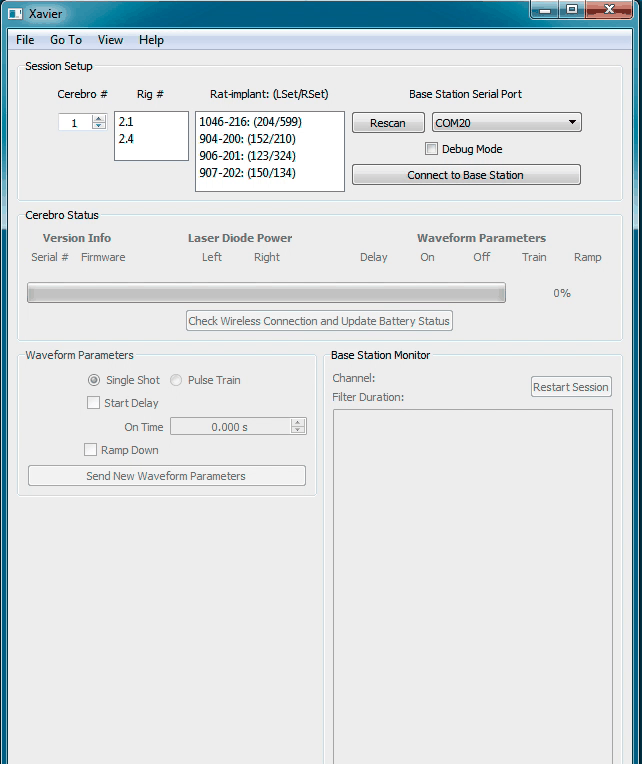
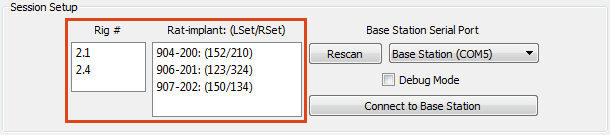
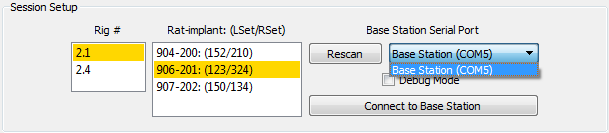
Session Setup
Fill out experimental setup information.
Note
The rig and rat lists can be edited
Select a Base Station Serial Port.
Note
The COM port drowdown list can be labeled
Click
Connect to Base Station.
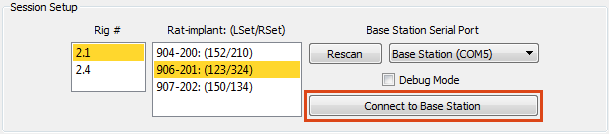
A startup sequence dialog box will appear. Xavier will try to establish a connection between Base Station and Cerebro. Once connected, Xavier will make sure that the laser diode power settings on Cerebro match laser diode powers for the rat/implant that was selected in step 1. If there are red X’s, make sure the correct Serial Port was selected, make sure Cerebro has been turned on, and then click
Retry.
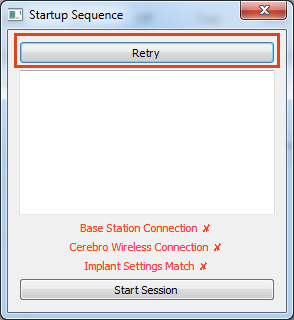
If everything on the list has green checkmarks, click
Start Sessionto begin the session.

Edit Waveform Parameters
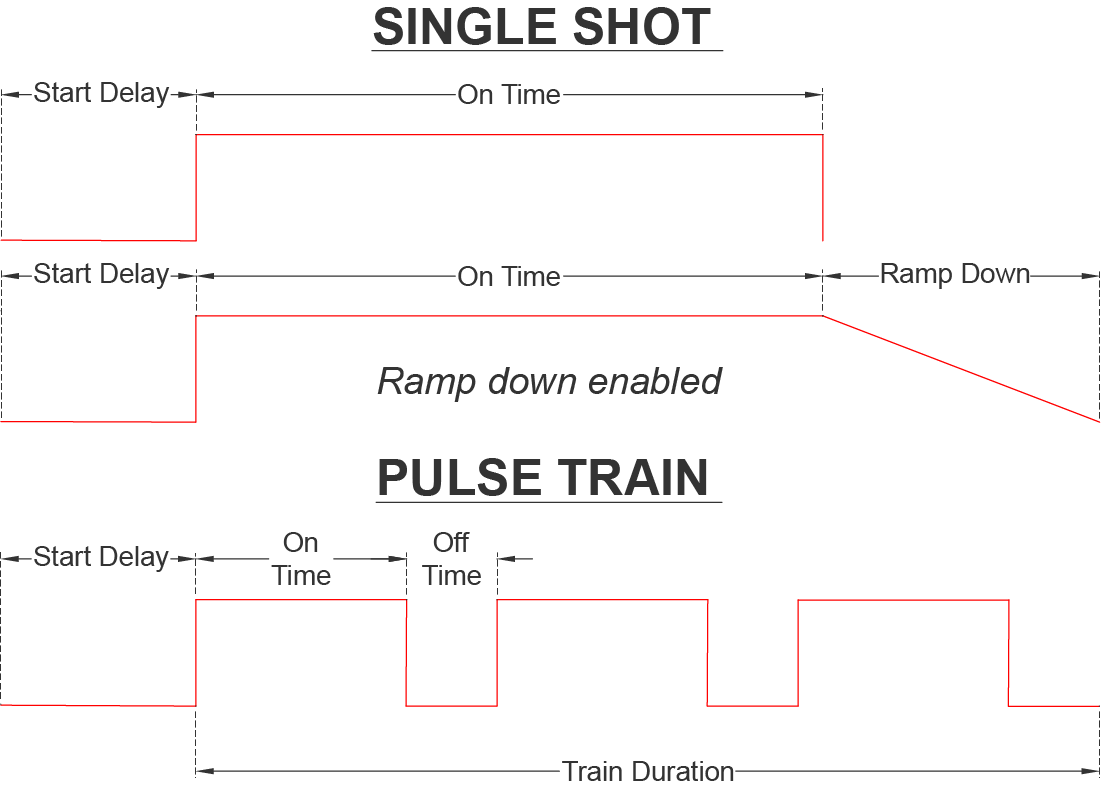
Five waveform parameters (Start Delay, On Time, Off Time, Train Duration, Ramp Down) can be wirelessly changed throughout the session. The user can make changes using either a Single Shot mode with an optional ramp down or Pulse Train mode. Non-applicable parameters are automatically set to zero depending on the options selected.
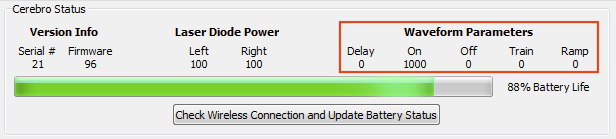
Check the Cerebro Status to determine whether the waveform parameters are set as you wish.
If you would like to modify the parameters, select “Single Shot” or “Pulse Train”, then modify the parameters in the “Waveform Parameters” section.
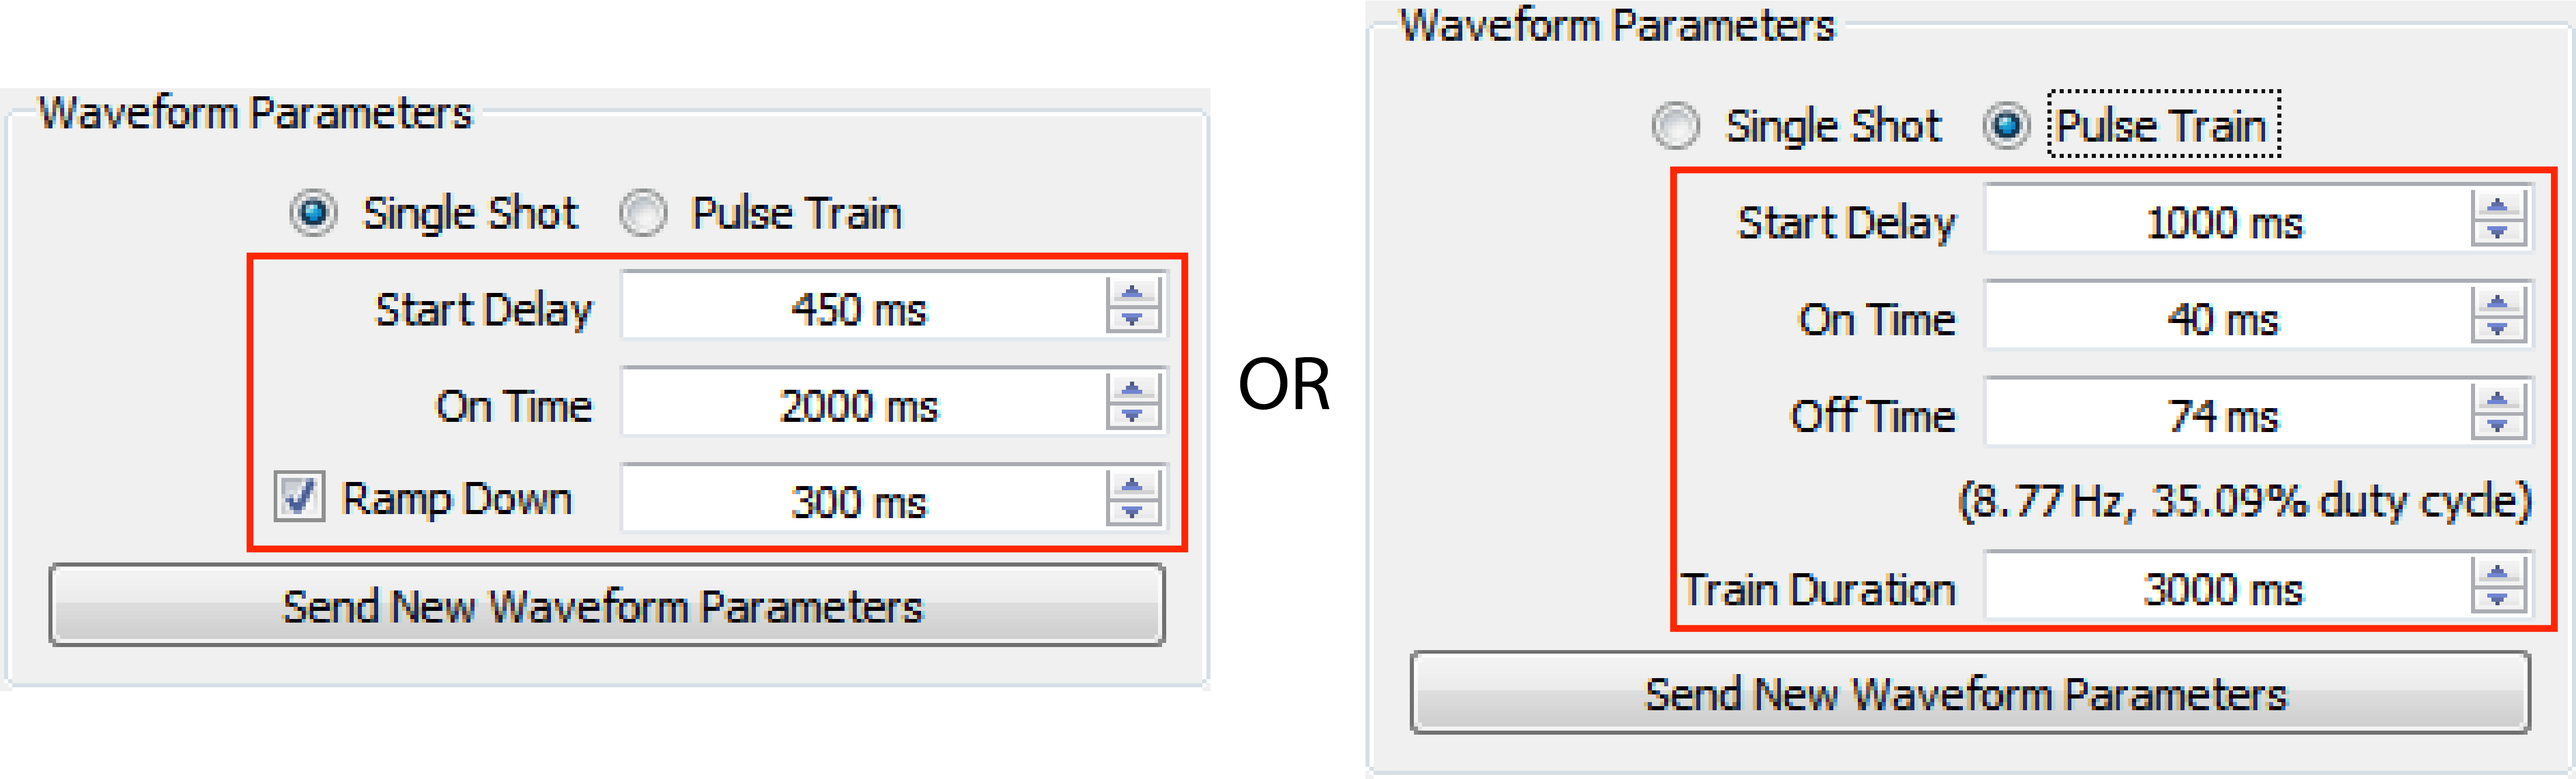
Click
Send New Waveform Parameters.
Ending a Session and Saving Data
When you are ready to end the session click
Save Session.